


Brand Name: SENPHUS
Model Number: shenhui-125
Place of Origin: Jiangsu, China (Mainland)
Company introduction
Senphus Electrical Material Co,. Ltd was founded in 2003. Originally smelted and produced the heating alloys, it has benn developed to a haigh-tech enterprise, which is a professional manufacture of many kinds of heating products, such as, underfloor heating cable, industrial heat tracing cable, silicone rubber and PVC heating wires for electric heating bed and blanket, metal heating film for Health and Beauty, industrical silicone rubber heater, temperature control system and equipment, as well wind power mold flip system. It is a factory with the collection of research, production, distribution and sales.
We have many professinal engineers, who cooperate and research with the experts of domestic famaous universities for more than 10 years. Relying on the rich experiences and more than 10 years technical advantages in heating alloy wire fields, we bring in world advanced heating cable technology and machines and develop the heating cable and temperature control system for wind power blade, and prodece the heating cables and the thermostats for buildings heating, pipe heating, outdoor snow melting, soil heating etc.
Now,the heating alloy output amounts to more than 1000 tons, and the output value reaches about 105 milion yuan. The alloys sell well to UK, Germany, USA, Canada, Malaysia, Taiwan, Danmark, etc. Our wind power die filp system and huge temperature control system also have the amazing sales value.
We have already passed ISO9001 quality management system, achieved the examination report of Shanghai Electric Cable Research Institute of Ministry, and gained UL certification, GS certification, electromagnetic radiation certification, SGS and REACH certification.
Seenphus Products are the choice of professionals.
The paper about underfloor heating thermostat
Resistance tolerance:-5%~+10%
Conductor Insulation: Teflon FEP
Sheath Insulation Aerial: Teflon
Core conductor material: Nickel Copper Alloy
Screen: Aluminum foil and Tinned Copper
Technical Data
Heat Mat Technical Date
Type |
Rated power |
Mat size |
Heated area |
W |
m*m |
Square meter |
|
SHDN-150-1.0M2 |
150 |
0.5*2 |
1.0 |
SHDN-150-1.5M2 |
225 |
0.5*3 |
1.5 |
SHDN-150-2.0M2 |
300 |
0.5*4 |
2.0 |
SHDN-150-2.5M2 |
375 |
0.5*5 |
2.5 |
SHDN-150-3.0M2 |
450 |
0.5*6 |
3.0 |
SHDN-150-3.5M2 |
525 |
0.5*7 |
3.5 |
SHDN-150-4.0M2 |
600 |
0.5*8 |
4.0 |
SHDN-150-4.5M2 |
675 |
0.5*9 |
4.5 |
SHDN-150-5.0M2 |
750 |
0.5*10 |
5.0 |
SHDN-150-6.0M2 |
900 |
0.5*12 |
6.0 |
SHDN-150-7.0M2 |
1050 |
0.5*14 |
7.0 |
SHDN-150-8.0M2 |
1200 |
0.5*16 |
8.0 |
SHDN-150-9.0M2 |
1350 |
0.5*18 |
9.0 |
SHDN-150-10.0M2 |
1500 |
0.5*20 |
10.0 |
SHDN-150-12.0M2 |
1800 |
0.5*24 |
12.0 |
Installation advice
All electrical wiring must be done by a fully qualified electrician and in accordance with the current IEE.
The insulation Board must be installed if you have a wooden substrate.It is also commendatory with concrete substrates to optimize efficiency and reduce warming times(up to 50% more thermally efficient).
Always round down your floor space area e.g.2.6m²of floor will require 2m²of matting (To avoid surplus matting).
Never overlap the mat ,always ensure a min.50mm spacing between the wires for optimum heat distribution.
If there is a matting shortfall in your floor space then concentrate the heat mat in heavily trafficked areas.
A Residual Current Device (RCD) should be used with this system (must be bought separately).
Floor must be clean and free from dust &dirt.
Never cut the red wire or join two or more mats together in series, use a junction box.
Only use scissors when cutting the mesh.
The wire is tough but extra care must be taken when using sharp objects near the mat. A plastic trowel is advisable.
Check your system with a mufti-meter before tile installation.
Ensure your tile adhesive is suitable for use with under tile heating e.g.highly polymer modified (flexible).
Your substrate and floor covering,e.g.tile adhesive or screed, must be comm.\Katelyn dry before switching on your system for the first time.
Wear gloves when handing the mat (to avoid irritation to skin).
Take care when tiling to ensure you do not dislodge or damage the wire from the mesh mat.
The insulation board is not suitable for floor strengthening and structural reinforcing.
Matting and Insulation Board should not be passed under permanent fixings e.g.bath,toilet etc.
Do not store objects on top of the matting during installation e.g.tiles.
Remove old floor coverings
Installation Checklist
Sensual mat (with supplied protective tube)
Sensual Thermostat(LCD or Manual).
Temperature Sensor Cable (supplied in Thermostat box.).
Insulation Board.
Glass Fib re Tape
Mufti-meter
Residual Current Device (RCD(recommend 30Ma)*
Electrical trunking or conduit to house power lead.*
Electrical back box and junction box (if required)*
Measuring tape and marker pen*
Scissors*
Gloves*
Junction Box (required if joining multiple heat mats)*
This Box Contains
Sensual Mat
Protective tube
Warranty Information
Other Sensual Products Required
Sensual Glass Fib re Tape
Sensual Insulation Board
(LCD or Manual)
Adjusting the mat
Don’t worry if your floor plan is not completely square. The matting can be easily adapted and shaped but remember
DO NOT cut the red wire!
Loose wire can be fixed in place using Glass Fibre Tape .
Step 1: Prepare&Measure
(a)Substrate Preparation
Use a highly polymer modified(flexible)conscientious floor adhesive suitable for under tile heating systems when installing the insulation boards and the tiles.
Wooden seafloors:
All floor boards must be secure,level and fixed firmly with screws. If not level then use a self-belling compound or overlay with plywood. The insulation boards are not a strengthening material and should only be used on a sound, flat and digit substrate.
Concrete seafloors:
The concrete floor should be level and completely cured,if new. The floor should be clean and dust free.
The floor should be structurally sound and free from damage.
Bathroom Example:
(b)Make a plan
Always round down your floor area e.g. For a floor area of 2.6m2 you will require 2 m2 of heat mat(to avoid surplus wire)Draw a plan of your room with measurements and all floor fitting objects e.g. Cupboards, bath etc.Calculate the free floor space so you know which size mat or combination of mats you will need.
Mark on your plan where your thermostat will go, and therefore where your matting will start from, and continue to draw a plan of how your matting will be laid.
Electrical wiring regulations prohibit thermostats being installed in bathrooms;if you are using the system in a bathrobe then install the thermostat on an internal wall outside the bathroom as close to matting power supply cables as possible.
(c)Mark the floor and mat
Any floor preparation e.g. Belling,reinforcing or laying of Insulation Board(recommended) should be done prior to marking.
Mark the floor where permanent objects and the thermostat are going.Using your plan,roll out the mat(remember your gloves!)from your thermostat point,without removing the printed backing tape and mark the points where the mesh will have to be cut for turning the mat or where the mesh may have to be removed from the red wire to be applied loose into narrow areas.
Draw the planned route on the floor, for any loose wire sections,maintain the min.50mm spacing.Loose wire can be fixed in place using Glass Fib re Tape
Plan the location of the heat sensor.
Step2: Heat Control
Select either LCD or Manual thermostat
Optimum efficiency
LCD can be programmed for convenience
Refer to thermostat instructions for fitting and technical information
(a)Plan, Measure &Cut
Measure the room to calculate number of boards, To cut the boards, simply score through the top layer with a utility knife and snap.The boards should be installed in a staggered pattern(see picture 1).Substrate must be clean, dry and free from dust before installing
(b)Install&Fix
Boards must be installed with flexible powder based tile adhesive suitable for under tile heating.Use a notched floor trowel to apply a bed of adhesive to your substrate(Trowel in one direction to avoid air pockets)
Work a board at a time and firmly press down to ensure no air pockets.When adhesive is completely dry apply Glass Fib re tape to edges of board(see picture 2).
Step 4: Lay Matting
(a)Adjust the mat
Using your markings on the floor and the mesh, with scissors carefully cut the mesh at the necessary points; DO NOT cut the red wire!Ensure the wire is kept min.50mm apart for optimum heat distribution.Refer to the adjustment guide on the reverse for help on turning the mat
(b)Prepare for the floor sensor
Check the mark on the floor you made for the location of the sensor(leave enough excess cable to reach the thermostat).The sensor should be under the mat in the middle of two heating wires and 350mm into the heated area,although not directly over heating pipes beneath the floor.A small channel maybe needed in the floor to accommodate the tube(in heat mat box),which protects the sensor.Thread the floor sensor through the tube and tape over the end to stop any adhesive entering.
(C)Stick the mat down
Working from the thermostat,start to stick the matting down by removing the printed backing tape from the matting and firmly pressing down,Secure the sensor with eight tape or tile adhesive, ensure that it does not cross any heating wires.
Sections d-e Essential for your warranty
(d)Connecting up(By the Electrician)
Install the thermostat as per the instructions in is box and run the power lead through the electrical protective casing/conduit(not supplied)up the wall, with the floor sensor, to the thermostat.
(e)Testing the mat(By he Electrician)
Test the mat and sensor with a mufti-meter,check the readings with the data tables on the relevant instructions and write this data on the warranty application form.Before tiling, turn on the system and run for approx 10 ins to ensure the wire heats evenly.
The wire is tough enough to withstand light foot traffic but plastic sheeting or cardboard should be overlaid if the mat will be exposed for any period of time to protect the wire from being damaged by foreign objects or being dislodged from the mesh.
Step 5: Tile
Using self-belling compound:
A flexible tile adhesive suitable for under floor heating must be used. This option gives you a smooth flat base to tile onto whilst protecting the wire when tiling.Simply mix the compound and pour over the mat to a depth that covers the wire making sure there are no air bubbles or voids.Allow to fully cure and then tile.
Using tile adhesive:
A flexible powder based tile adhesive that is suitable for under tile heating must be used.Working on a small area at a time, with a rubber backed trowel apply a layer of adhesive over the heat mat ensuring complete coverage of the wire with no air pockets and voids, alloy this layer to set, apply a second layer of adhesive with a suitable notched trowel(preferably plastic)and apply the tiles.
IMPORTANT:ENSURE THAT THE TILE ADHESIVE AND GROUT IS FULLY CURED AND DRY BEFORE TURNING ON THE HEATING SYSTEM FOR THE FIRST TIME.READ MANUFACTURES GUIDELINES FOR DRYING TIMES.
FAQs
Is there a guarantee?
There is a 15 years guarantee on the mat and 2 years on the thermostat.To validate your warranty the necessary form must be filled in and sent to us, which can be found in the Heat Mat or Thermopylae box.
Can this heating system be used under laminate/wooden floors?
Sensual system has been specifically designed for under tile applications and is not recommended for under real wood, laminate or carpet floor coverings
Can I install it myself?
Yes the mat is very easy to install, but the route of the mat and position of the thermostat must be carefully planned before you start.A fully equality electrician is required to make the electrical connections to the thermostat.
Why can’t I turn my heating on as soon as the tiles are down?
If you turn on the heating system before the tile adhesive or grout are fully cured and dry,the moisture will be forced out too quickly and cracks may occur.If you have a concrete substrate then this must also be completely dry before the heating mat is installed.
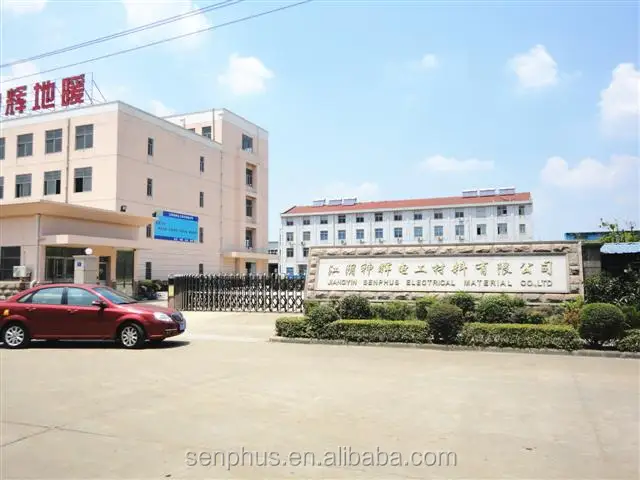
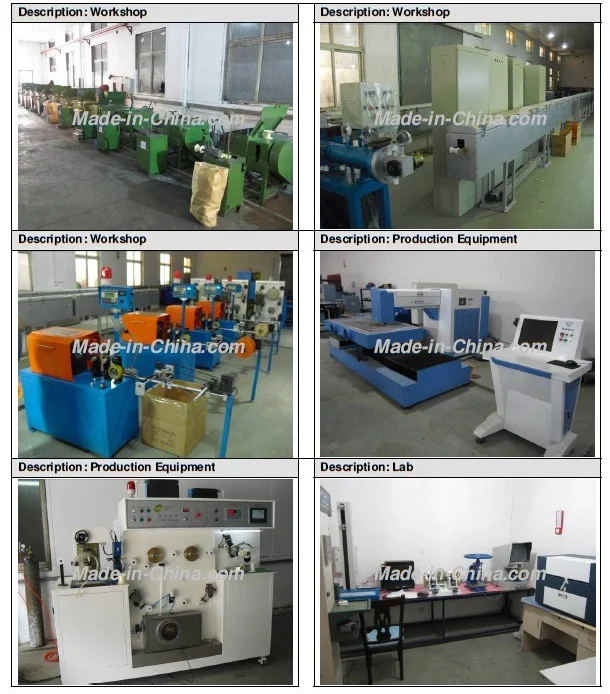
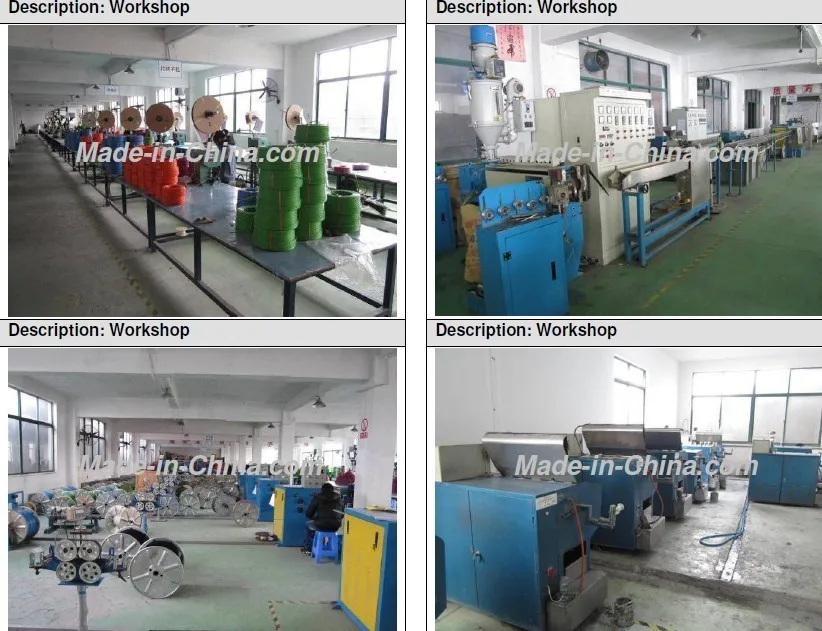
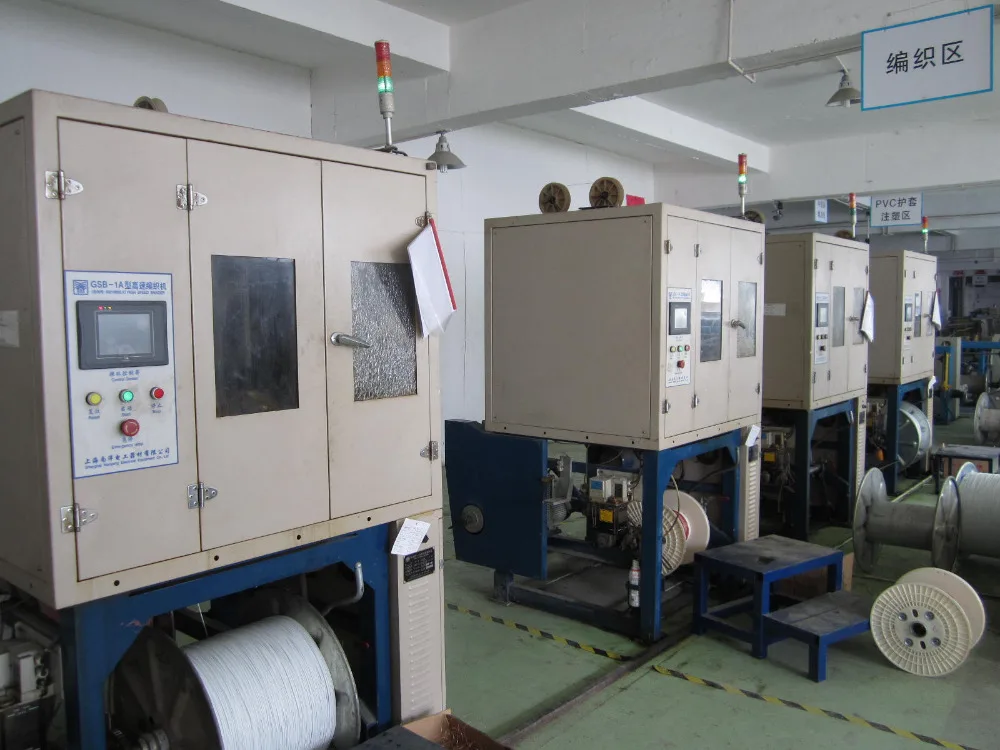
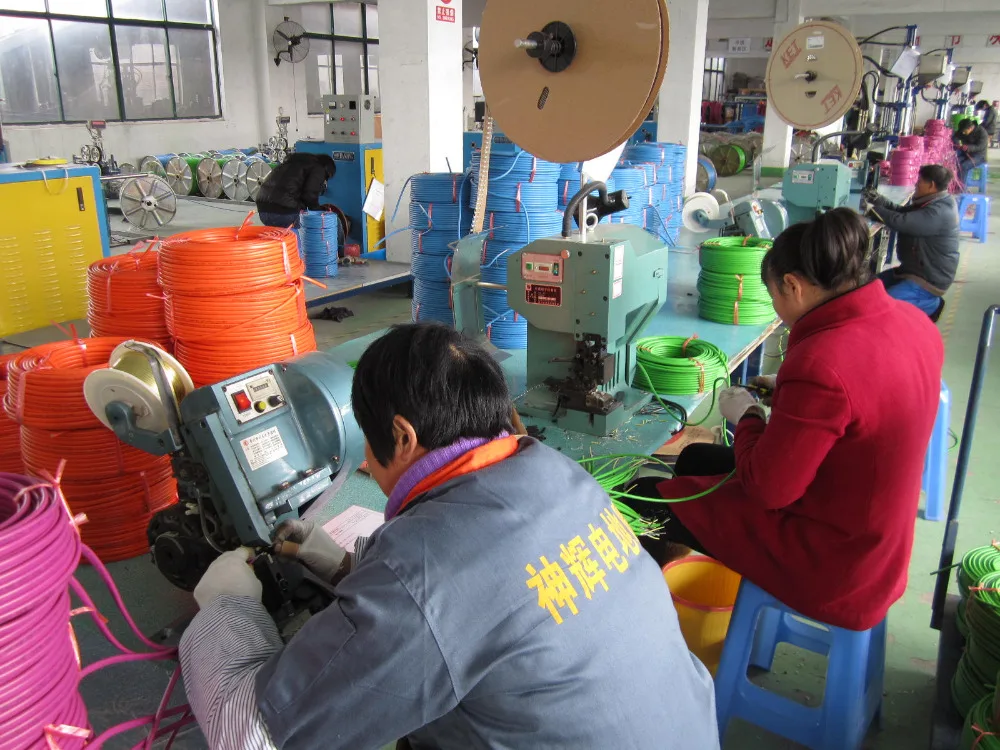
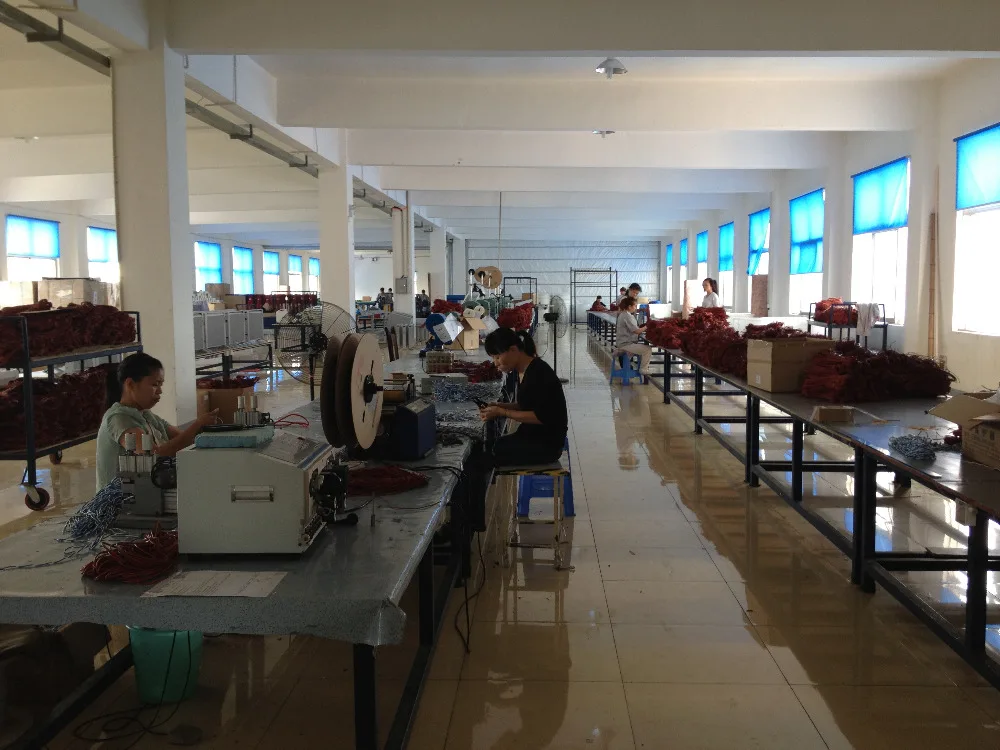
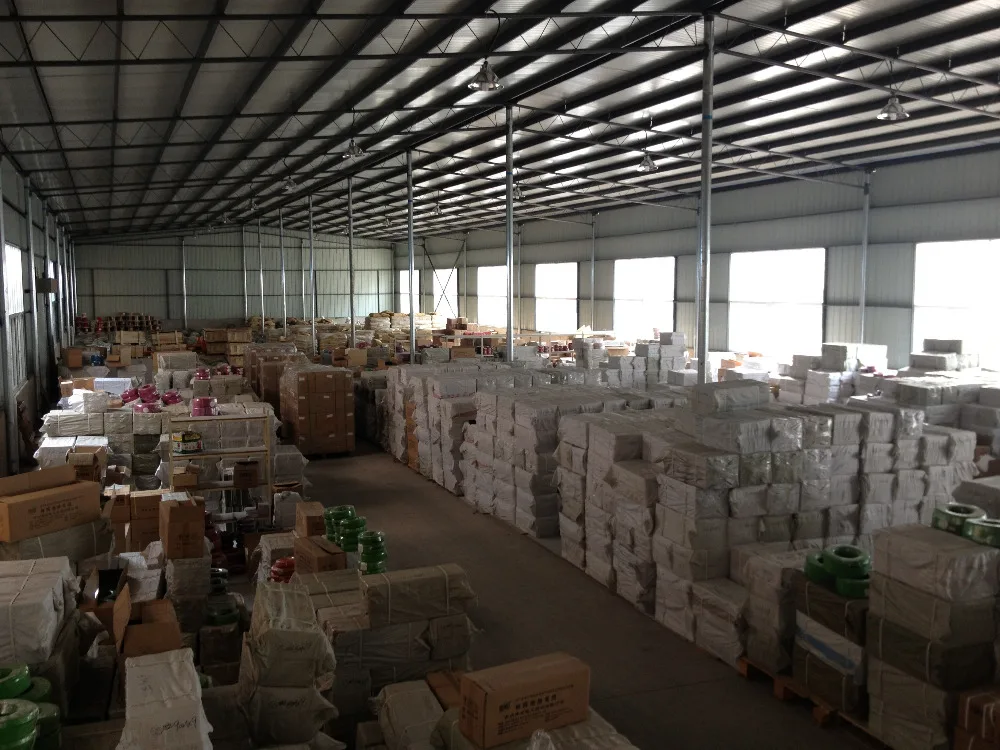
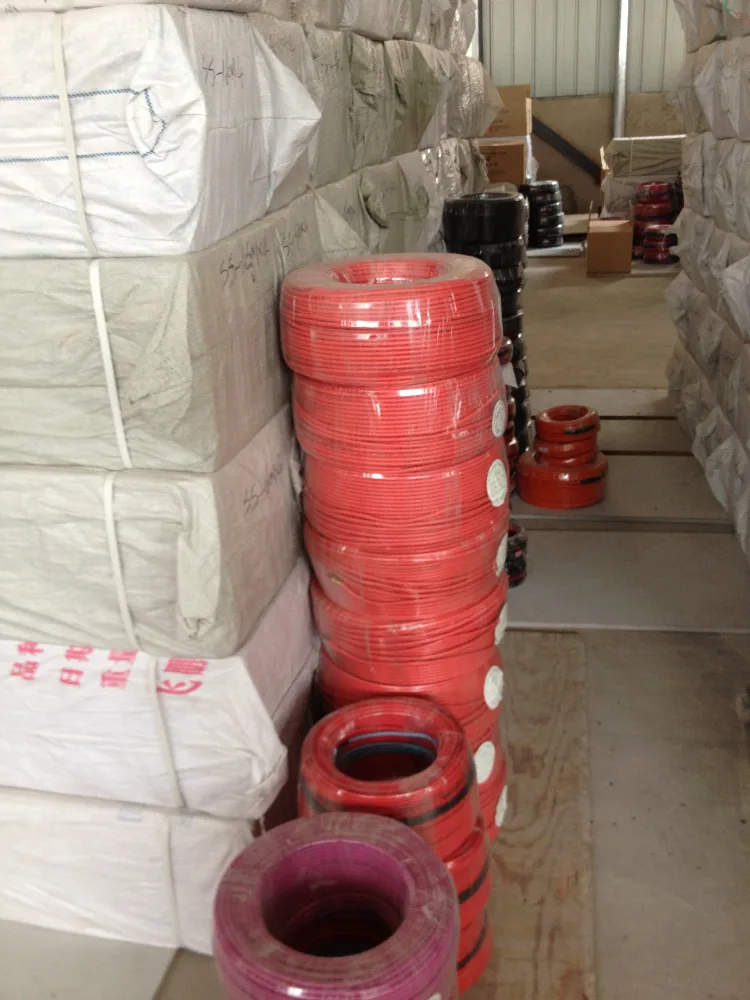
The picture of our compeny


- Product Listing Policy - Intellectual Property Policy and Infringement Claims
- Related Links
- Privacy Policy
- Terms of Use
ICP License: 浙ICP备2023052164号 © Coowor.com. All rights reserved.
Tel: +86 10 65447649 E-mail: coowor@coowor.com
Copyright © Hangzhou Coowor Network Technology Co., Ltd. All Rights Reserved.


